
I have been brainstorming the perfect way to frame and hang these for some time. Thinking of not only my decor but the best way to compliment or contrast the black and white images. I started out planning for black gallery frames with large white mattes, having about 4-6 inches of negative space to either side of the image....then I began lightening up my space with neutral tones and slowly moved the black frame and accessories out of the room where I planned to hang these. So I pondered off-white gallery frames but then wasn't sure of the white mattes....
So like everything else, to the back burner {aka the closet where all small projects go to die} they went. Finally for mother's day I decided I wanted frames, I was sick of not having these memories up in my home. My parents have some rough cut timber for various projects and they agreed that I could have a few pieces. So I drew up a plan and on mother's day weekend my dad, hubs, g'pa and I began to construct the frames.

 |
| this plan changed a bit when we brainstormed how to keep everything in place. |
I ordered glass from a local glass specialty store, much cheaper than Michael's or Hobby Lobby (who don't allow coupons on custom framing/glass cutting) and Dad cut some pieces of wood to use with a screw for keeping everything in place. So I layered the glass, the matte board mounted print, and some cardboard, which all fit perfectly in the routed inset under the pivoting shims.

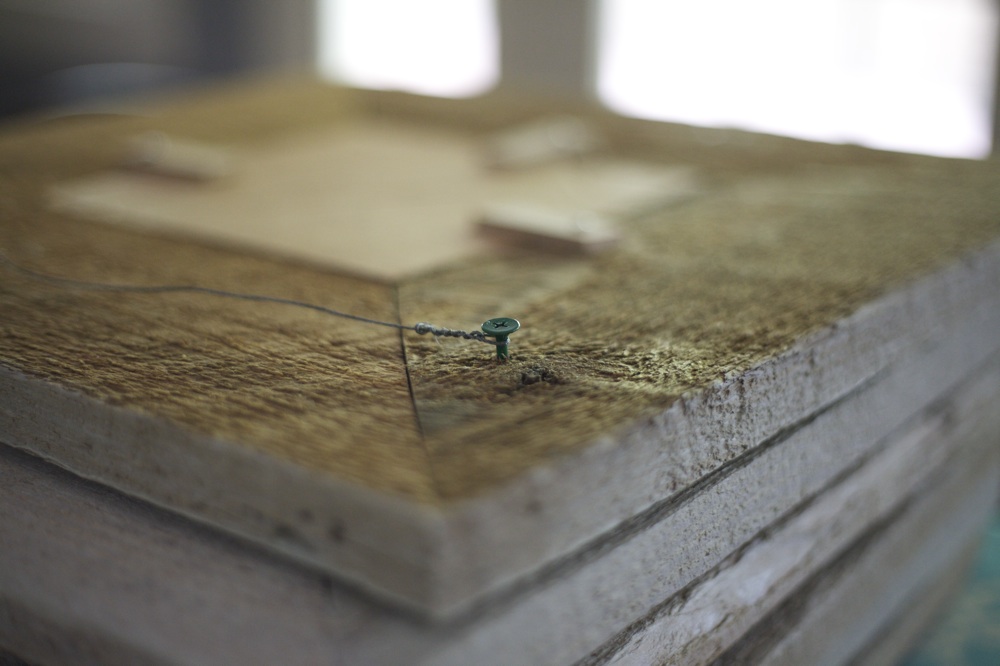
Then I took some screws {green cement board screws that I had on hand...hey, they worked great. don't judge me} and picture hanging wire and prepared these pretties for hanging!
Off to the wall! I can assure you nothing about a 80 year old house is square, also nothing about rough cut frames make them of equal length, and lastly when using wire, no matter how well you measure for your screws/hooks your wire will not have the same tension on each frame...so I was dealing with a lot of "ish." I hung a craft paper cut out of a frame around the height that I wanted. Calculated the spaces, then measured 9ish inches here and 2ish inches there and finally I was able to hammer in the hooks and slap some of these guys up on the wall.
 |
| The blue piece of tape down below is the height of the buffet that will make its way in the room. |


 |
| Melissa Pardi Photography |
 |
| Ashley Warren Studios |
 |
| Ashley Warren Studios |
The contrast of such beautiful fine art images with the imperfect, rough around the edges frames is quite comparative to life. And in my quest to make my house a home, I want to make sure there is this kind of balance.
xxSarah


Ahh, such determination :-) the line is simple and elegant. love it!
ReplyDeleteSo pretty! I really like this idea!
ReplyDelete(cute blog, too!!)
Thanks dolls!
ReplyDeleteI thought hanging them in a line would add the same sort of affect of char rail and board and batten. The wall needed some interest!!